Sharp R-200W Manual do Utilizador
Consulte online ou descarregue Manual do Utilizador para Micro-ondas Sharp R-200W. Sharp R-200W User manual Manual do Utilizador
- Página / 16
- Índice
- MARCADORES
Resumo do Conteúdo
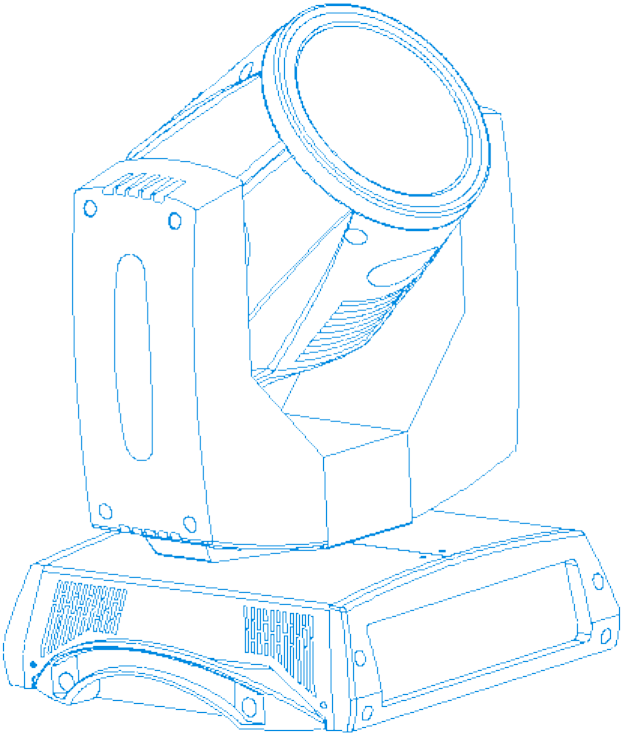
BeamBeamBeamBeam 200W200W200W200W MovingMovingMovingMoving HeadHeadHeadHead LightLightLightLightUSERUSERUSERUSER MANUALMANUALMANUALMANUAL
8Figure 5: Connecting topowerFigure 6 : Connecting to the control signal line ( DMX )Note: Please use meets specifications shielded 2-pole twisted pai
9XLR 3-pin male and female connector Canon.Important Note: 2-pole line can not be with each other or in contact withthe metal shell of the connector.
10( 2 ) ONvii effect round the shortest distance(1) NO( 2 ) YESviii. allow DMX reset(1) NO( 2 ) YESe) Display Settingsi. returnii display language1. E
11governor (0.5-14 seconds)The level scan: 540 degrees, Resolution 8Bit/16Bit , automatic correctionThe scan vertical: 250 degrees, Resolution 8Bit/16
12CH5: X/Y scan speed0-255 high - slowCH6: Dimmer0-255 OFF - ONCH7: Strobe0 OFF1--50 ON51--240 Strobe slowly -- highly241--255 OFFCH8: Fog Filter0-255
1328-34 Gobo 435-41 Gobo 542-48 Gobo 649-55 Gobo 756-62 Gobo 863-69 Gobo 970-76 Gobo 1077-83 Gobo 1184-90 Gobo 1291-97 Gobo 1398-104 Gobo 14105-111 Go
1200W200W200W200W BeamBeamBeamBeam LightLightLightLight ManualManualManualManual1 . Safety Information …………………………………………… 32 . Installation and Startup
2the right to update the relevant parts of the specification at any timewithout prior notice. Pictures of this manual and the actual productdifference
3To drag the power cord to pull the plug .◆ This level of protection of the equipment for Class I , so please connectthe yellow / green wire grounded
4◆ maximum ambient temperatureThis device uses a maximum ambient temperature does not exceed 40 ℃(104 ℉ ).◆ Protection class IP20This equipment can pr
5InstallationInstallationInstallationInstallation andandandand StartupStartupStartupStartupFigure 1: X -axis its lock and release mechanisms, every 90
6Figure 2: Y -axis its lock and release mechanisms, every 45 ° lockingand releasing
7Figure 3 : The lamps can be installed in the rubber feet , the floortrusses , ceiling or wall .Warning: Lighting is positioned on the floor unless ot
Mais documentos para Micro-ondas Sharp R-200W

Manuais e produtos relacionados com Micro-ondas Sharp R-200W

 (41 páginas)
(91 páginas)
(24 páginas)
(24 páginas)
(21 páginas)
(68 páginas)
(48 páginas)
(111 páginas)
(41 páginas)
(91 páginas)
(24 páginas)
(24 páginas)
(21 páginas)
(68 páginas)
(48 páginas)
(111 páginas)

 (24 páginas)
(43 páginas)
(53 páginas)
(21 páginas)
(36 páginas)
(21 páginas)
(40 páginas)
(16 páginas)
(16 páginas)
(31 páginas)
(24 páginas)
(43 páginas)
(53 páginas)
(21 páginas)
(36 páginas)
(21 páginas)
(40 páginas)
(16 páginas)
(16 páginas)
(31 páginas)
© 2020, manymanuals-pt.com. Todos os direitos reservados. | 0.037 s |
 Manymanuals.com
 Manymanuals.de
 Manymanuals.fr
 Manymanuals.it
 Manymanuals.pl
 Manymanuals.cz
 Manymanuals.es
 Manymanuals-pt.com
Comentários a estes Manuais